Today we’re building the Ploopy Classic. I’ve been following Ploopy for a bit now. I first found out about them through one of the mechanical keyboard subreddits. All their mice use QMK which is a popular firmware for hobby mechanical keyboards.
My wrist has been hurting lately. A combination of long hours at the computer mixed with strenuous climbing will do that to you. Well, I’m not going to stop climbing so I might as well get a more ergonomic mouse.
The kit I got requires some assembly.
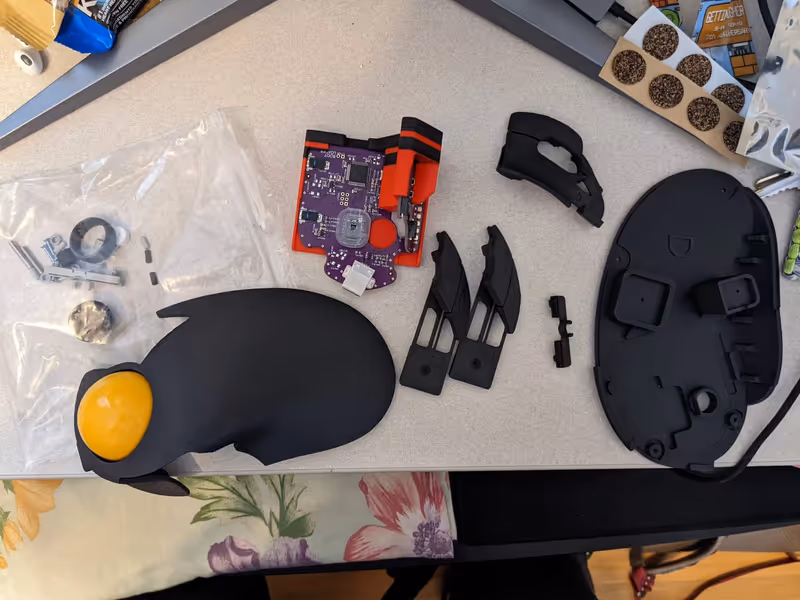
In college, I worked at a research lab where I did my fair share of electronics assembly so I’m comfortable with soldering. Did I also mention I’ve made a few of my own keyboards?
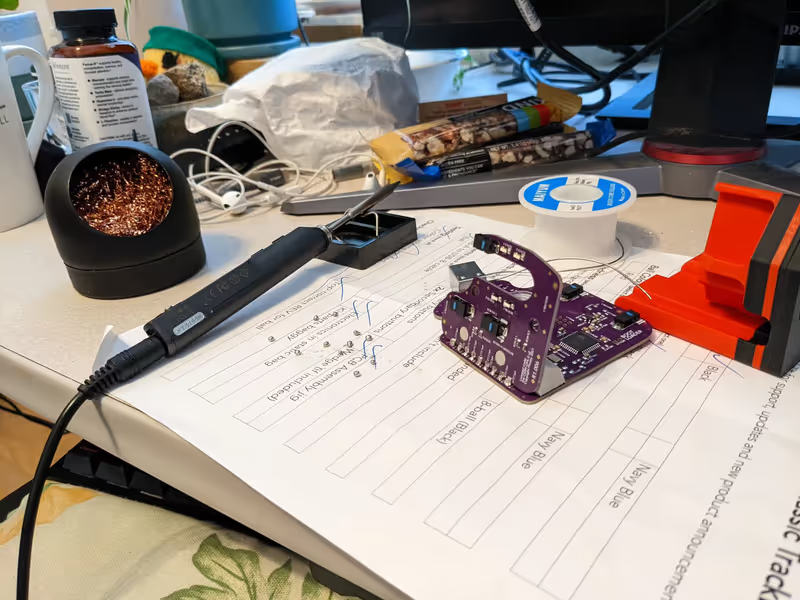
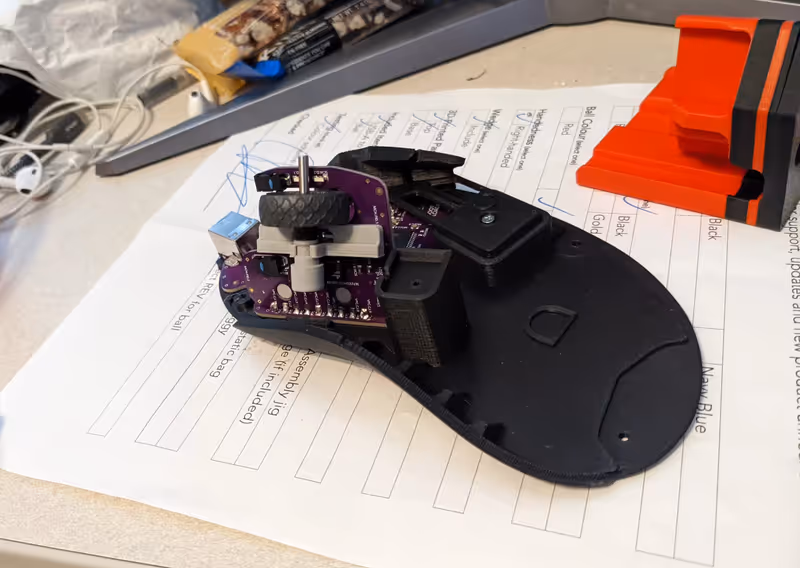
The PCB setup in the base is looking good. The grey plastic piece is the scroll wheel holder. Initially, I had a bit of trouble with the press fit because I didn’t press it into the PCB hard enough.
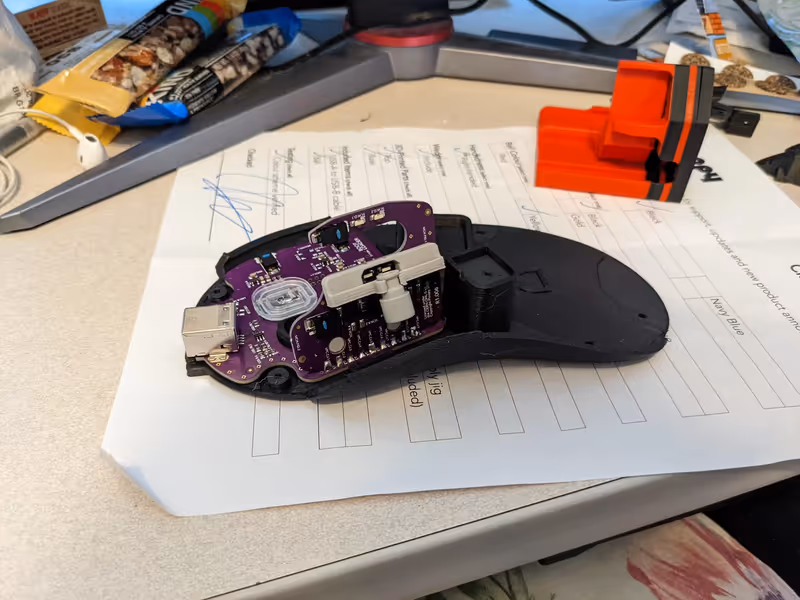
Side buttons in place. For some reason, I got two sets of side buttons. Must have been a shipping mistake on their end.
The scroll wheel is smooth and not stepped. I liked stepped wheels. I’ll probably end up using the firmware option to use the trackball for scrolling.
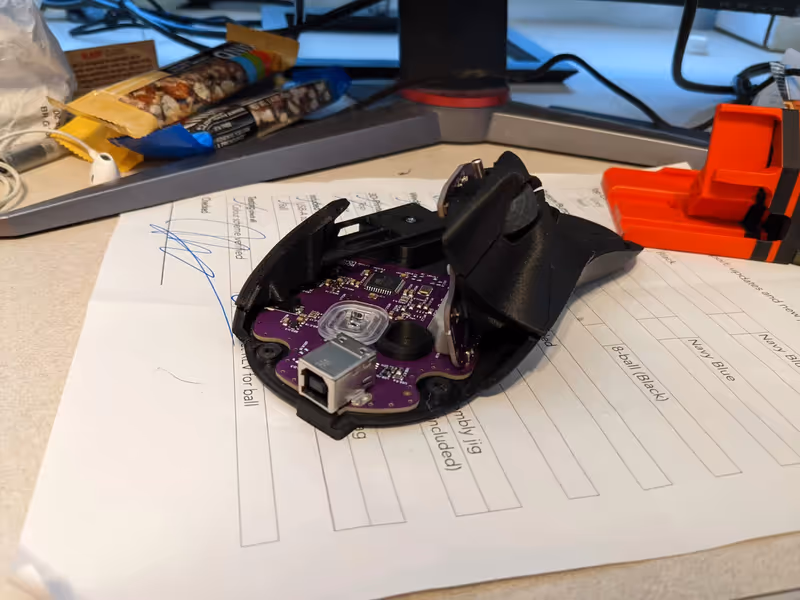
All the buttons are on now.
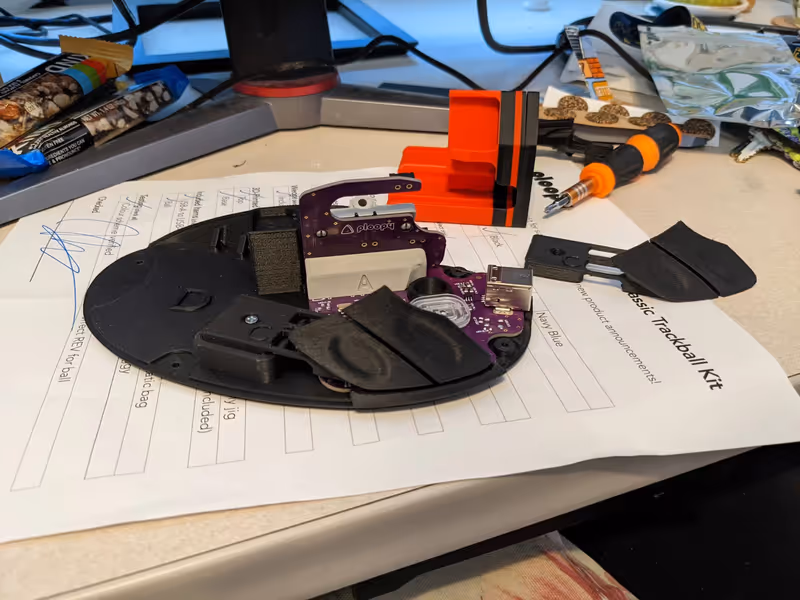
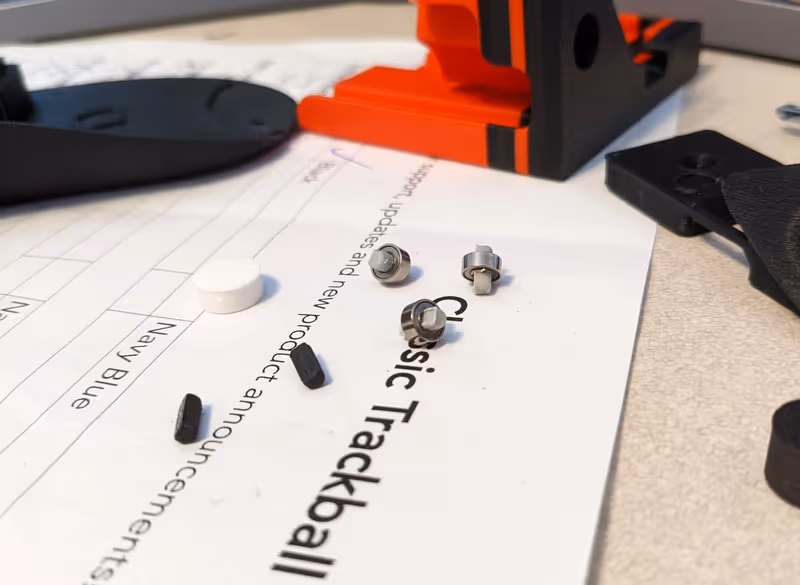
These are the bearings for the trackball. There’s a little jig to push the rods through.
It took a bit of effort to put the top on as it’s finicky to get around the mouse buttons.
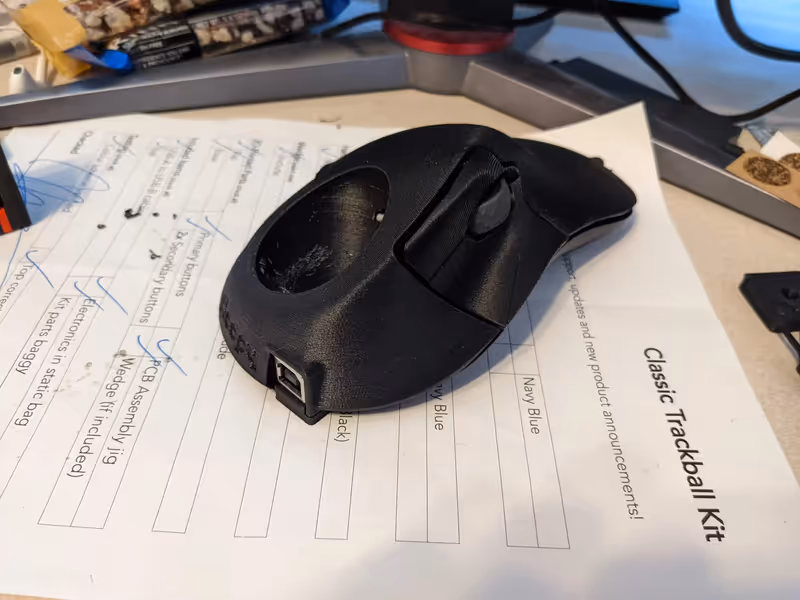
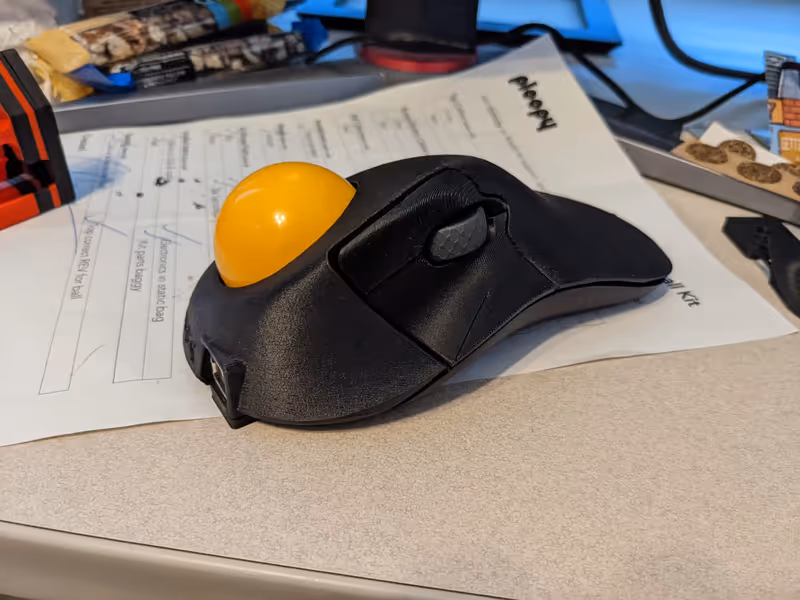
All done!
I also setup my own mouse keymap config through QMK. The default options make configuration really easy.
One problem I did run into was that I couldn’t get LT to work with KC_BTN5.
The
demo keymap
for drag scroll shows the 5th mouse button used as LT(1, KC_BTN5) but in practice this doesn’t work.
The QMK docs mention a caveat
around LT where you can only use keycodes in the basic keycode set,
which KC_BTN5 is not a part of.
This was a bit of a bummer since I really would have liked all 4 mouse buttons to always be tap functional
rather than having a dedicated layer toggle key.
It’s okay though, can’t have your cake and eat it too.
I ended up using the right button as a layer toggle. This layer includes the drag scroll toggle, DPI toggle, and mouse button 5.
Getting used to the trackball has been entertaining. I had to scale down the DPI a whole lot from the default 1200DPI to 400DPI. My hand precision and dexterity are shaky at best and it only gets worse after coffee. Being a surgeon was ruled out real early in my life.
I’ll see if I stick with using this mouse as a daily driver. The location of the mouse buttons is very different from a traditional mouse so it will definitely take some time to get used to. I also keep accidentally touching the mouse wheel.
I wonder if I’ll be any good at FPS or League with this thing.