Inspiration
I’ve been interested in dithering ever since I came across an article in Low Tech Magazine on how they made their website more energy efficient. In order to reduce network payload size when serving images, they dither all their images which reduces file size while preserving some level of image quality.
More recently, I watched a video called ‘The Kuwahara Filter’ by Acerola. In the video, he explains the history of the Kuwahara filter and its potential use cases. One interesting combination he mentions is using the Kuwahara filter and then dithering.
This got my mind churning a bit. The combination of dithering with the Kuwahara filter sounded like it could make exciting image filters.
With dithering popping back into my mind space, I remembered an old 4Chan /wg thread with interesting edits. The link to the original thread is now dead, but the original post was:
I was fucking around and found a fun way of livening up old and/or low res wallpapers, and I'll be dumping some and sharing the technique. To my knowledge this will require photoshop.

>open your image in PS
>shrink it to exactly half or a quarter of your screen's resolution
>gaussian blur if desired
>save for web as PNG-8 using "Restrictive" color reduction and "Pattern" dithering, setting colors to "Auto" or your desired bit depth
>close, and open your newly exported file
>upscale the image to full res using "Nearest Neighbor" in resampling
>win
I got the following images from that original 4Chan thread.
With the 4Chan dithering recipe, I could combine it with the Kuwahara filter to get some interesting results. The 4Chan recipe has instructions for PhotoShop but I have non-existent PhotoShop skills. I opted to use ImageMagick instead. ImageMagick is a program that can easily do a whole myraid of image transformations from the command line.
Experimentation
After going through all the above inspiration, I started off experimenting with different levels of Kuwahara filtering with different dithering algorithms. For dithering, the outputs of the Floyd-Steinberg and Riemersma filters produced interesting images but they weren’t as geometric as the original 4Chan inspiration. Finally, I figured out that using ordered dithering, I could achieve what I was looking for. After some experimentation, I settled on using ordered dithering with an ordered 8x8 threshold map at level 3.
Results
The final ImageMagick script is:
convert $INPUT \
    \( -resize 50% )\ \
    \( -kuwahara 1 \) \
    \( -ordered-dither o8x8,3 -colors 8 \) \
    \( -interpolate Nearest -filter Box \) \
    \( -resize 200% \) \
    $OUTPUT
You can find this script in the GitHub repository.
To summarize:
- Downscale the image
- Run the Kuwahara filter
- Use ordered dithering with 8 colors
- Interpolate pixels using the nearest neighbor algorithm with a Box filter
- Upscale back to the original image size
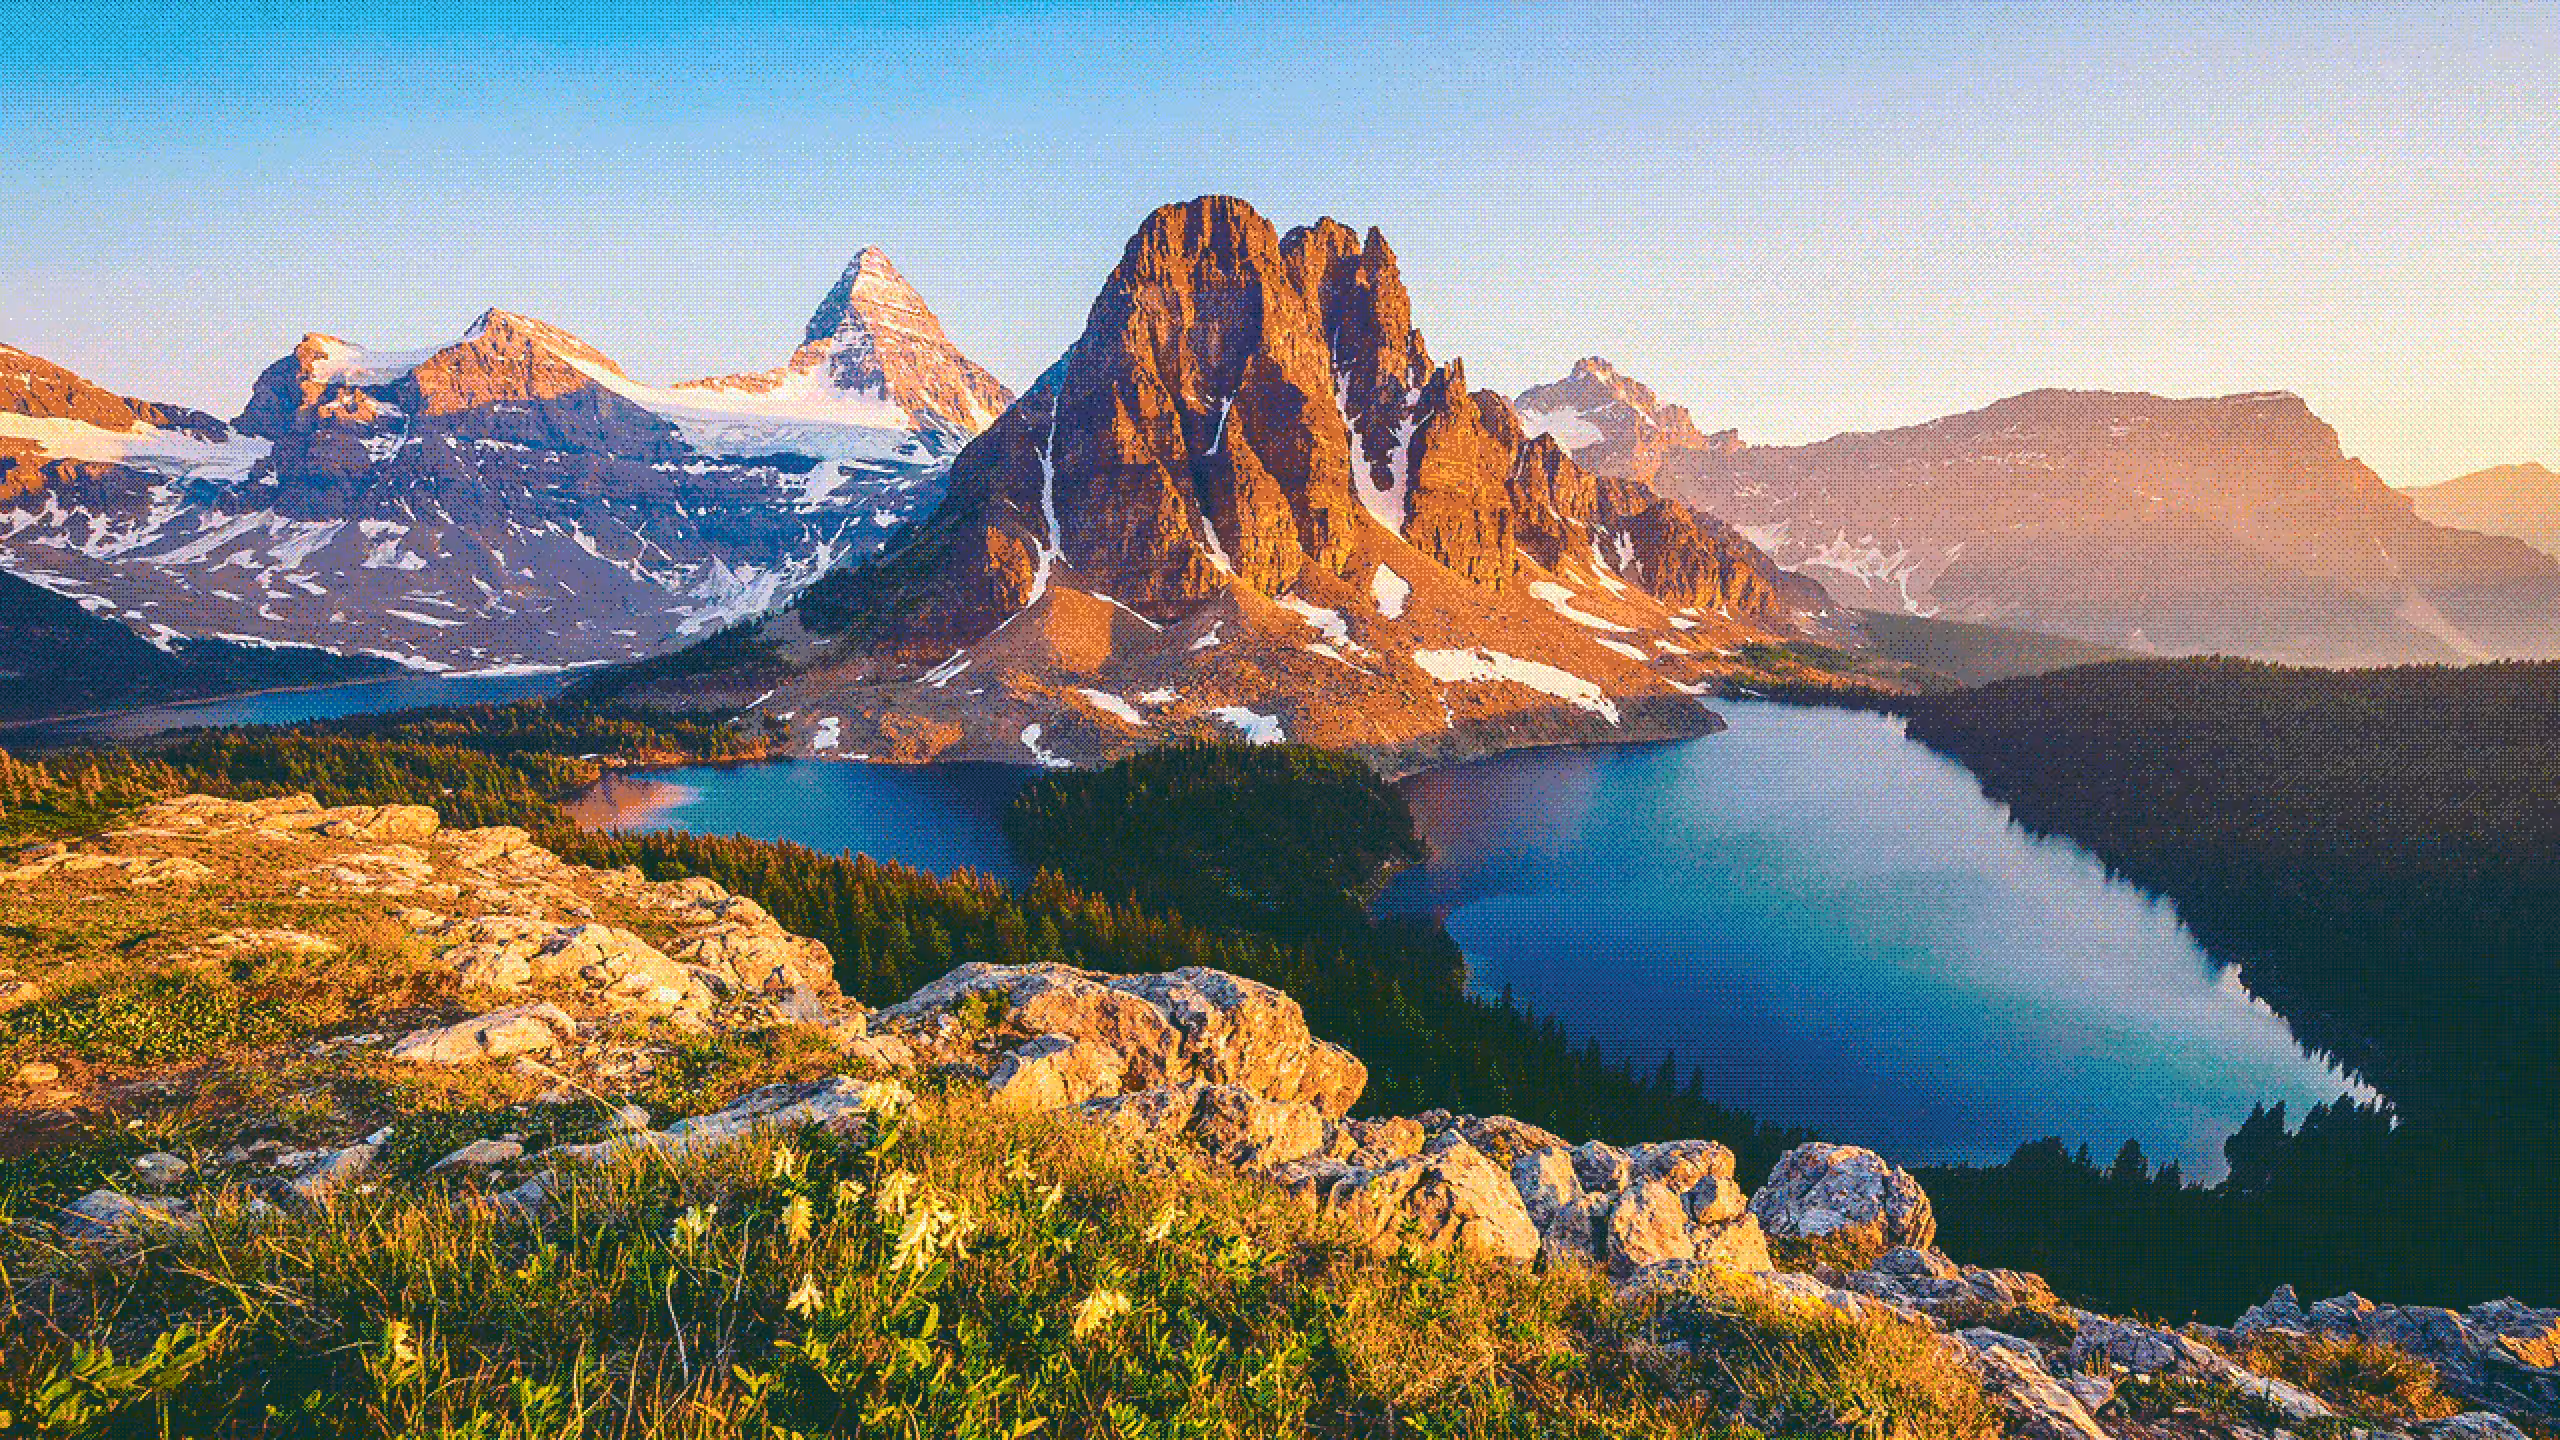
Here’s an example of the filter on the image that I’m currently using as my desktop wallpaper.
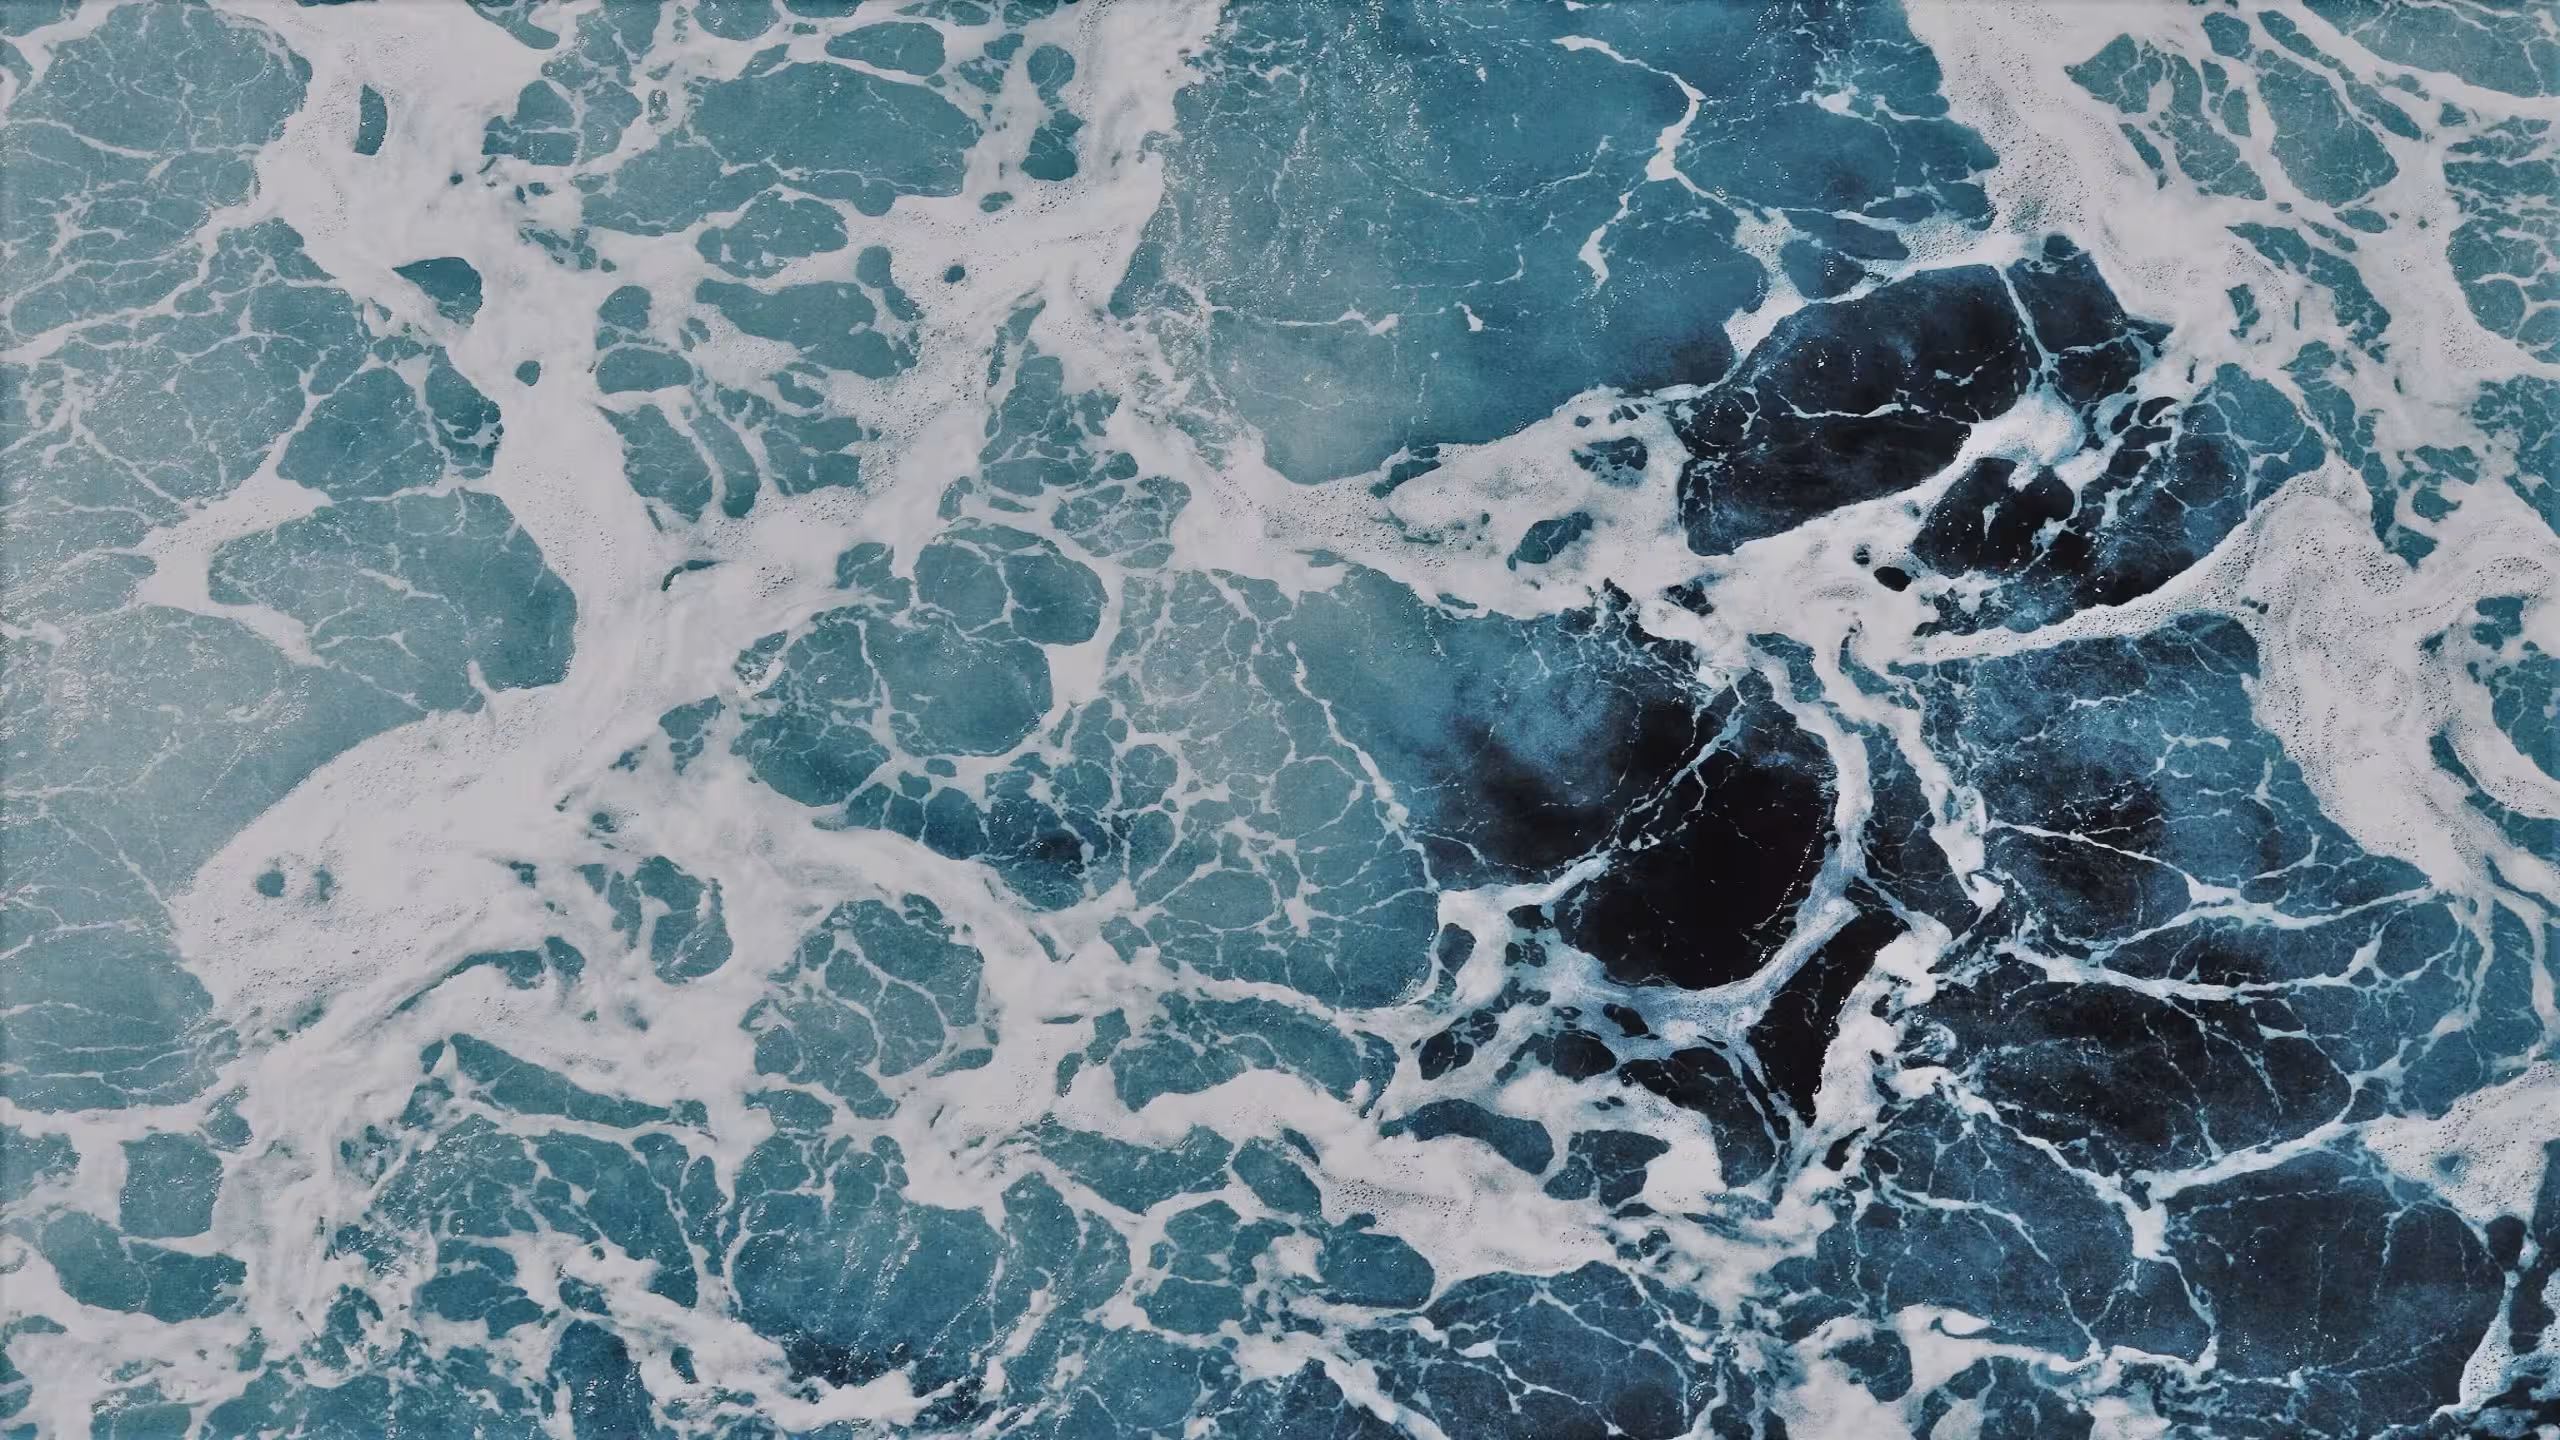
Original
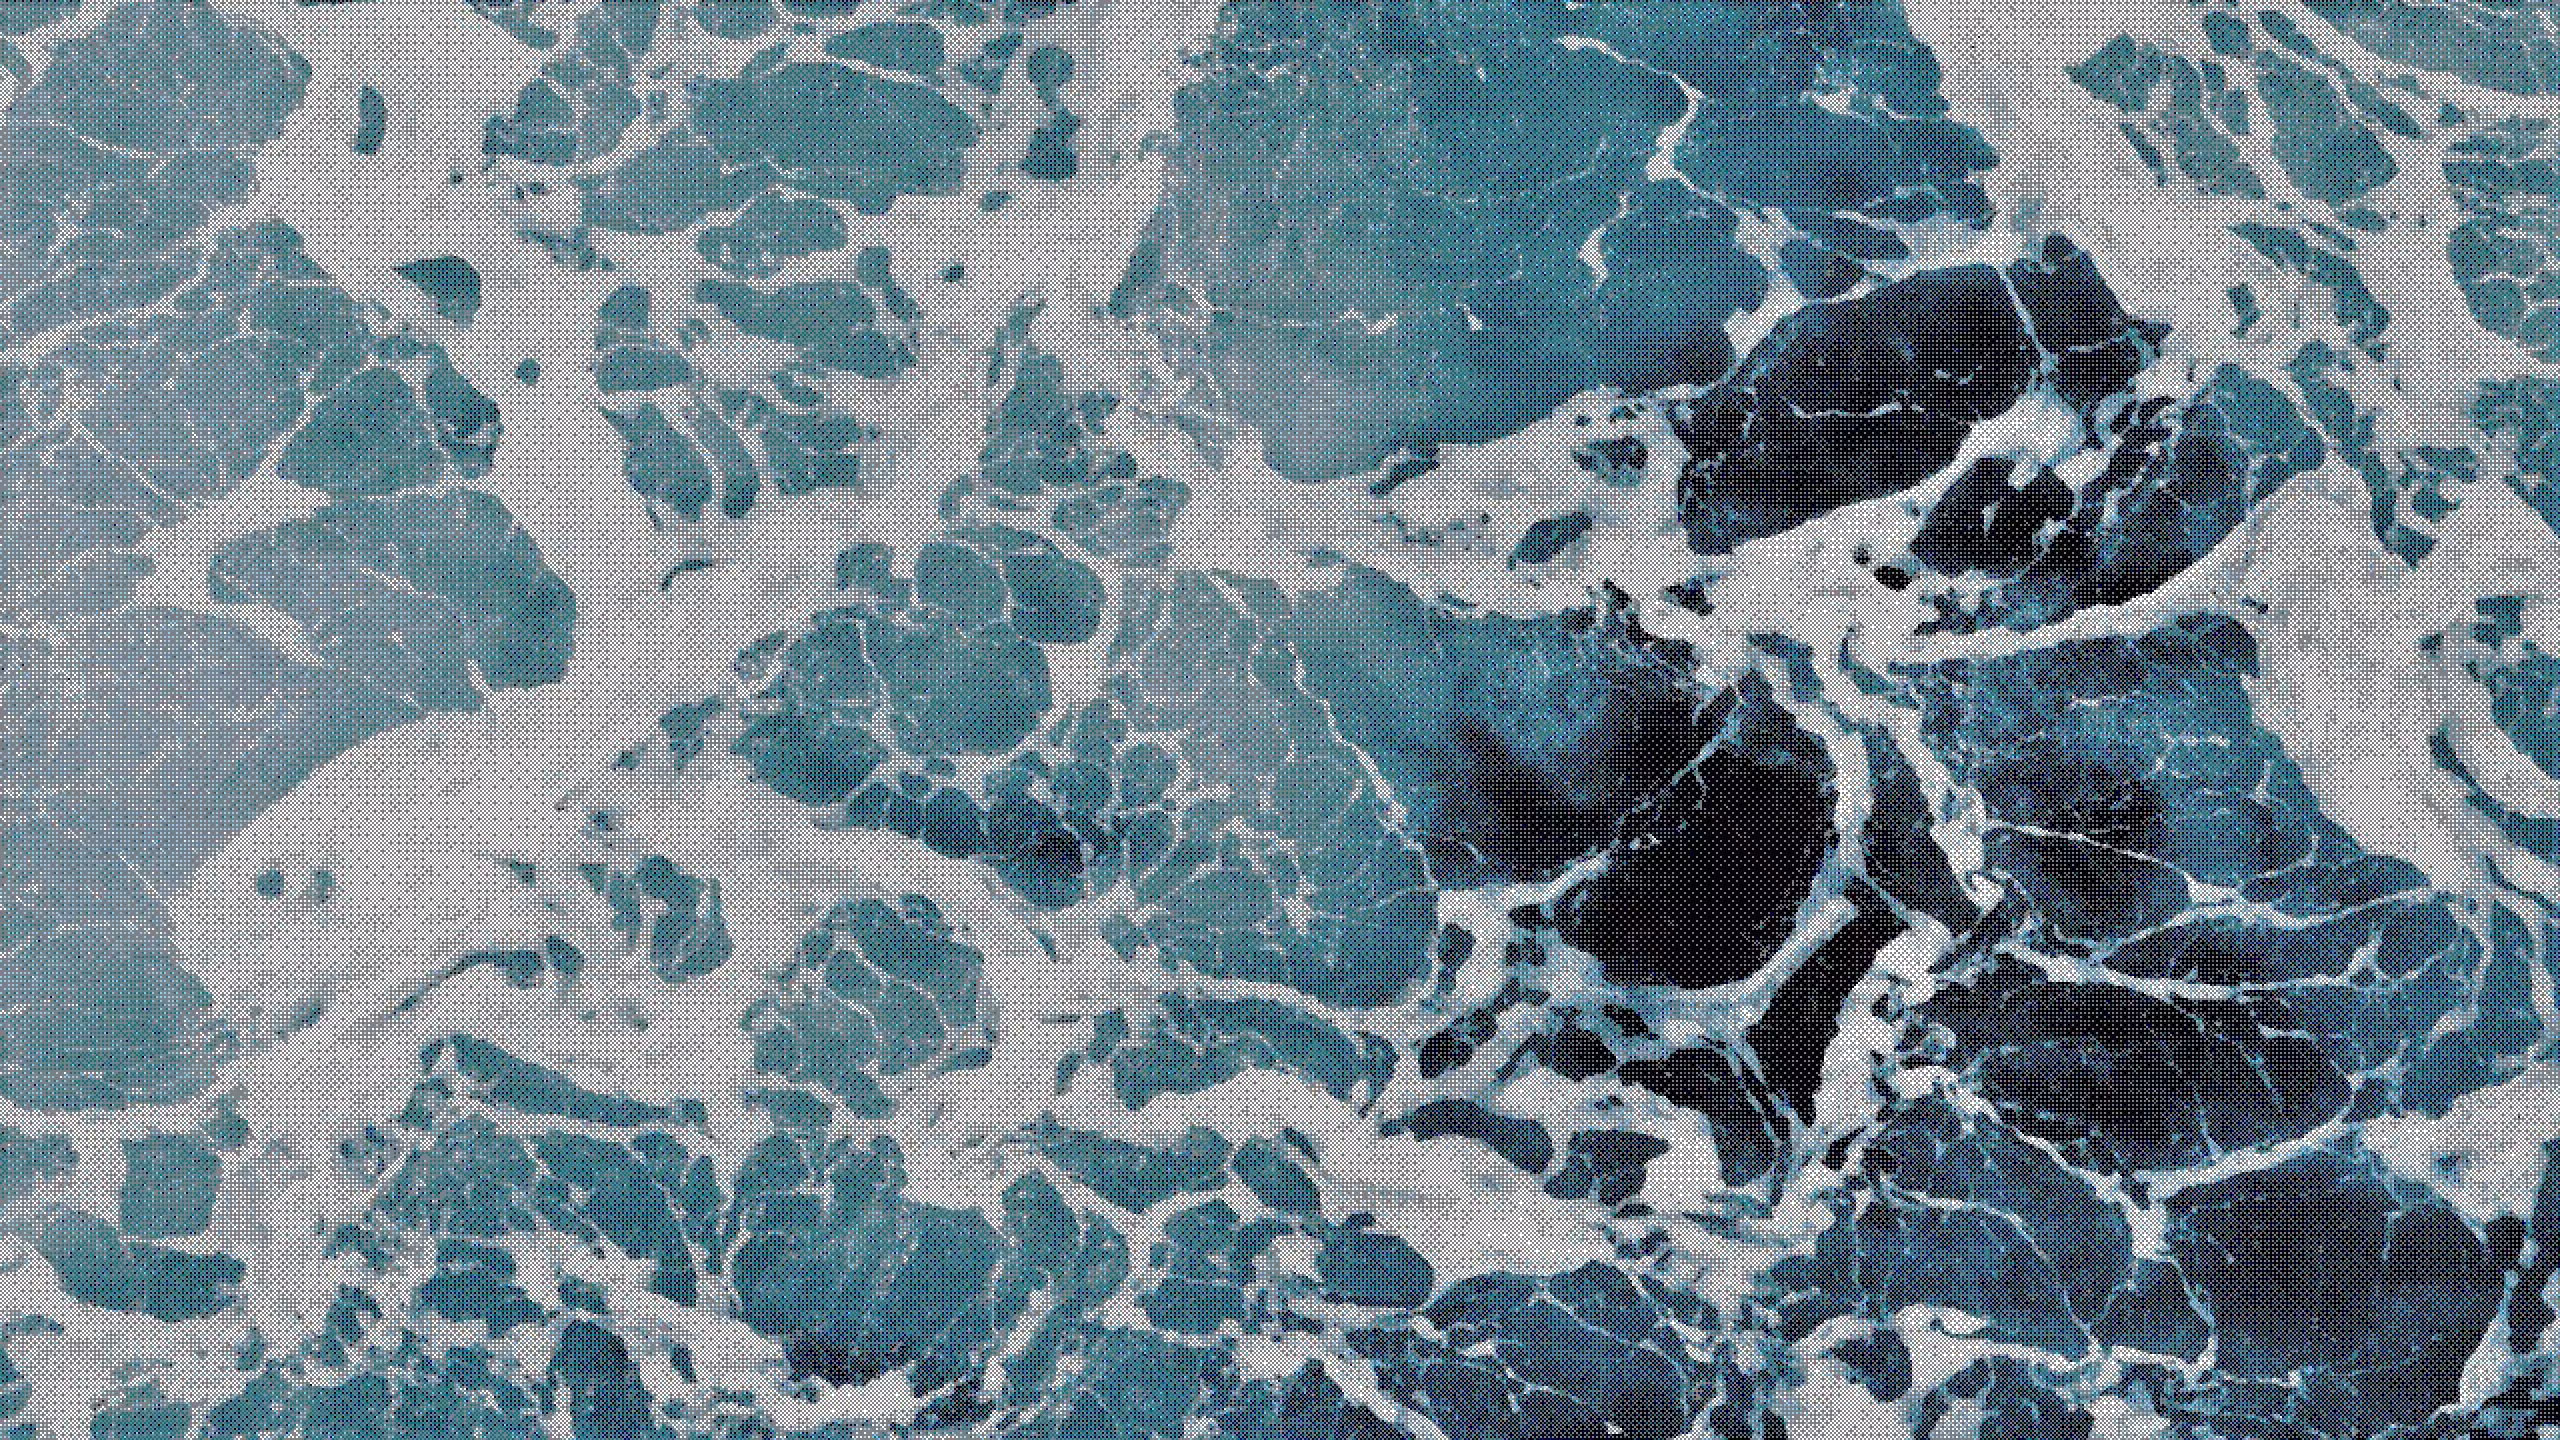
Edited
Tweaking Parameters
From my observations, each parameter affects the output in a different way.
Downscale
Tweaking the initial downscale will result in a more obvious filter. When the Kuwahara filter and dithering effect have fewer pixels to work with, their effects are more pronounced.
Kuwahara Filter
Increasing the Kuwahara filter radius will give a more painted like look to the final image. More areas of color will get splotched together.
Dithering
Different dithering algorithms will produce different effects. Using the Floyd-Steinberg algorithm will produce a much less pixelated look. With Ordered dithering, I was able to produce a much more grid like pixelated look.
Having 8 colors usually produces an image that looks distinctly filtered. With 16 or 32 colors, I usually will get enough colors that output will still look fairly close to the input in terms of color.
Interpolation
Interpolation will further pixelate the final result. Using the Box or Point filters gives a harsher look while the Triangle filter results in a softer image.
Upscale
The final upscale is just to get the image back to it’s original size. I use the inverse of the downscale percentage to do this.